
Item Categories are used for sorting and summarizing data in reports. You need to define each category that you desire to summarize, for example Automotive, Delivery, or Lawn & Garden. Once you select Item Categories,you will see the following screen:
General Ledger Number – You can define a General Ledger number for each category. If you define a G/L Account number then any income amounts in that category will be broken out on the General LedgerEntries sheet. If no G/L Account is defined, then all the income in the category will stay in the summary accounts of Rental or Sales income. Note: For multi-store systems, you can put “###”,“##”, or “#” anywhere within the GL Number to be replaced with the store number upon General Ledger Entry creation. For example a GL Number of 1100-## will print 1100-01 for store #1 income and1100-02 for store #2’s income.
Division – The Division groups categories together for example Equipment and Party division.
Max Discount – Each category can have a maximum discount percentage allowed. This value will override a discount put on a contract. For example,you could enter 10% maximum discount for the Delivery category. If someone gave a customer a 20% discount, it would automatically decrease the discount on the delivery charge to 10%.
Delete Unused – This option will delete any categories that don’t have any items.
Styles: With the new Styles fields in Record Details screen, you can now organize certain item record groups by up to three predefined styles. For instance, your linen records can now be organized by Linen Fabric (Style #1), Color (Style#2), and Size (Style #3). Or you can now have your Tent/Canopies category item records organized by Tent/Canopy Style(Style #1), e.g. Frame Tents, PoleTents, and Canopies. In addition, theItem Category Edit screen (under Configuration; Item Configurations; ItemCategories menu) will allow you to name your own three styles per category. If you have questions on how to use this feature on your integrated website, please contact our Web DesignTeam.
Print – This option will print a listing of all the Item Categories.
Add – To add a new item category.
Web Picture – If you are selecting a WEB image right-click the image: Make sure you verify the width of the image, needs to be 250 pixels or higher.
To modify an
existing item category, click on the desired category. Whether adding or
modifying, the Edit ItemCategory screen will be displayed.
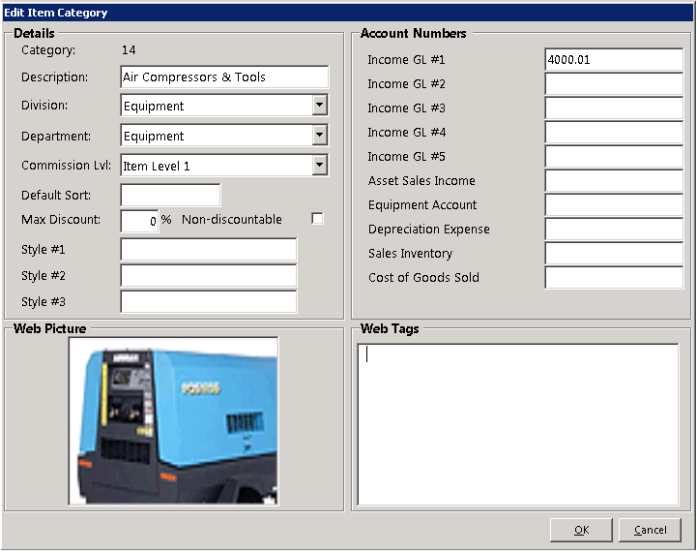
Type in the correct description and click the OK button. If you add a new category, the category number will be automatically assigned