Overview: Adding pictures to item records for use in Item Availability, Price Lists, Tear Sheets, and an Integrated Website.
*Note: It is recommended that this procedure be done from the server. If done from a terminal the image quality could be degraded. The system will resize the image (all images are sized with the same width of 640 pixels by 640 pixels with 720dpi) for uniformity and optimized for web viewing.
1. Find your image. Going to the manufacturer’s web site or doing an image search will usually find good results.
a. Make certain you have permission to use copyrighted images. Point of Rental cannot be held responsible for unauthorized use of copyrighted material.
2. If you are selecting a WEB image right-click the image:
a. First, select properties and verify that the width of the image is 250 pixels or larger.
b. Second, select Copy.
3. If you are selecting an image file from your camera or a saved file from your computer, right click the file:
a. First, select properties, click on the details tab, and verify width of the image is 250 pixels or larger
b. Second, select Copy.
4. Open the Point-of-Rental Program
a. To add a picture to an item: From the Counter System Menu>Item Availability. Select the item you want to add a picture to.
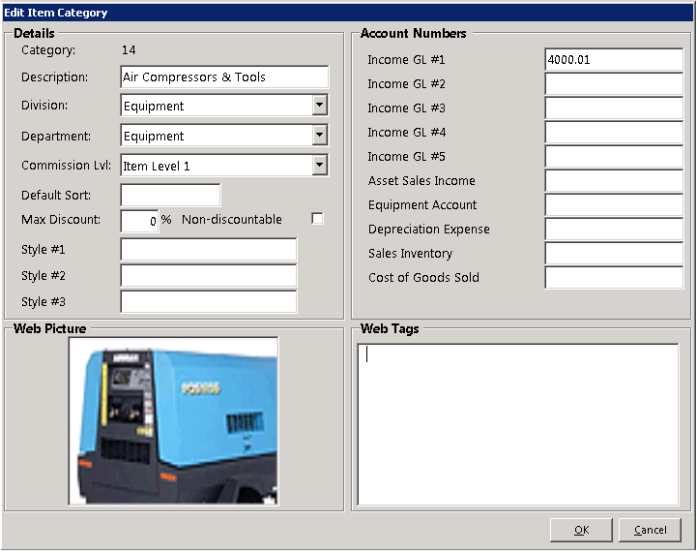
b. To add a picture to an item category: From the Configuration Menu select Item Categories. Select the category you want to add a picture to.
5. In the Picture or Web Picture field, right click and select PASTE, as shown below.
6. You may be asked for your ID. POR will mark that you added the picture.
*Internet Browsing: As a reminder, you should always have antivirus software installed and kept current on any computer accessing the internet.
Item Category Record