Printer Selection
Allow terminal settings for various features and functions within the application.
* Note: The printer names displayed are the names that you selected previously. If you change the name of a printer or remove a printer from your system, you will need to re-select the correct printer or printer name before the system will once again print to that printer. For example, if you originally had a printer named Okidata 320ML and you renamed it to Joe’s Okidata, you will need to reselect Joe’s Okidata for the contracts to print to that printer.
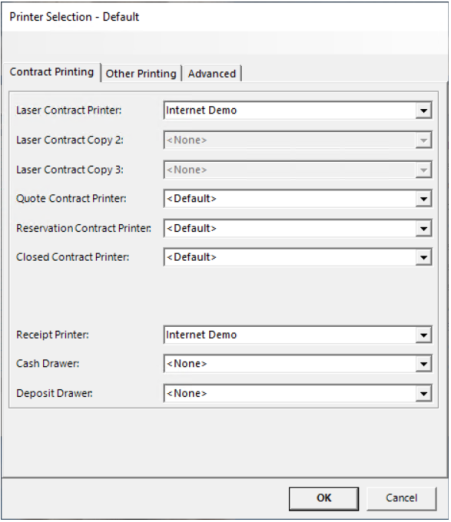
Contract Print
Laser Contract Printer - All laser printed contracts will be printed to this printer.
Laser Contract Copy 2 - If a printer is selected, then every time a laser contract is printed, a second copy will be printed to this printer. This can be used to handle multi-color paper.
Laser Contract Copy 3 - If a printer is selected, then every time a laser contract is printed, a second copy will be printed to this printer. This can be used to handle multi-color paper.
Quote Contract Printer - If a printer is selected, then every time a Quote contract is printed, this printer will be the default.
Reservation Contract Printer - If a printer is selected, then every time a Reservation contract is printed, this printer will be the default.
Closed Contract Printer - If a printer is selected, then every time a Closed contract is printed, this printer will be the default.
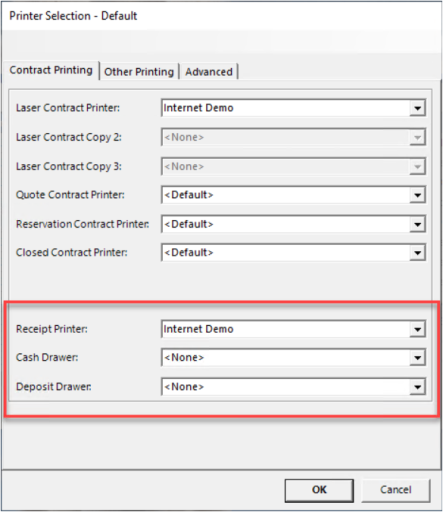
Sales Receipts Setup
The system can be set up to print a sales receipt to a receipt printer automatically if the transaction only involves sales, no rentals or asset sales. This saves paper and toner but requires a network receipt printer be installed on the server.
Once the printer is installed you need to go to the printer selection at each terminal that would use the printer and set the receipt printer. The name of the printer has to have the word “receipt” in it to display.
If you have a receipt printer with an auto opening cash drawer you may want to set the cash and deposit drawer to the same receipt printer so the drawer can open on transactions based upon parameter payment settings, usually cash transactions.
The printer is usually set in the windows printer settings to print one copy. If you want two or more there is a parameter setting to select how many but you only really need one for the customer. What are you going to do with a copy as you can always reprint one.
Other Printing Tab
This is where the user can assign specific printers for reports, end of day, instructions, load slips, attachments, labels, and faxing.
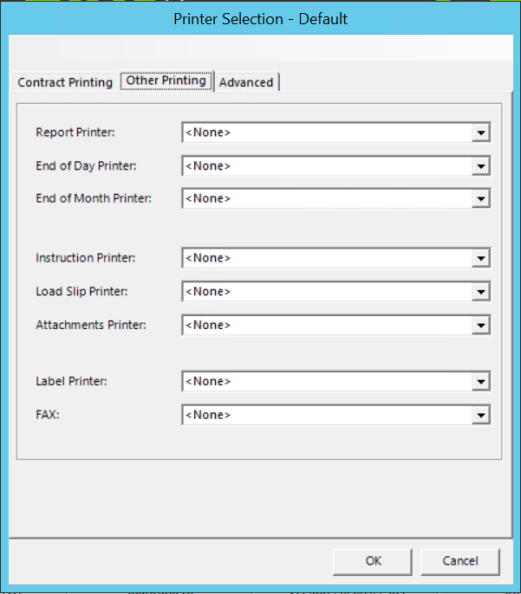
Report Printer- All reports will be sent to this printer by default.
End of Day Printer- Reports that are printed while closing the drawer for end of day will print here. This could be located in the accounting office, for example.
End of Month Printer-Similar to end of day, this may or may not be the same printer. The user may choose to print this at a corporate accounting printer rather than the local accounting printer.
Instruction Printer- If you have instructions attached to a piece of equipment on a contract and choose to print them, this is the printer they will go to.
Attachments Printer- If you have documents, photos, etc. attached to a contract, item, customer, vendor or job site and choose to print them, this is the printer they will print to.
Label Printer- If you use prep labels, repair labels, or item labels this in the printer they will go to. Generally, this will be a specific label printer, for example, one of the Zebra models, but a regular printer can also be used.
Fax- If you have a fax machine set up under ‘Reports and Notifications’ in your System Configurations, it is assigned here.
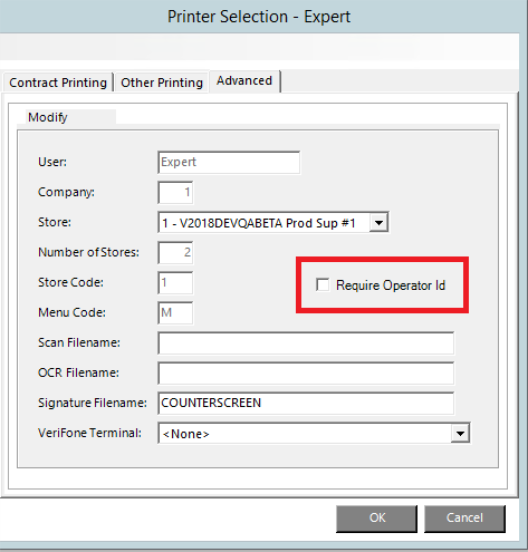
Advanced
This tab holds specific setup information for the user.
User: User profile name/description.
Company: The number of the company to which this user belongs within the corporation. For most users, this will be one.
Store: The store to which this profile belongs.
Number of Stores: Number of locations in this company.
Menu Code: The specific menu from menu security this user is assigned to.
Scan Filename: This is the path and filename of the customer’s picture from the scanner.
OCR Filename: This is the path and filename of the customer’s license information.
Signature Filename: This is the path and filename of the customer’s signature capture file.
Verifone Terminal: The credit card terminal for the user is assigned here.
Require Operator Id
With this option checked, an Operator Id must be entered after every transaction in the Counter System. Unchecked means that once an Operator Id has been entered, the system will use that Operator Id until that counter system is exited. This will prevent anyone from coming up to a terminal and making modifications under another user’s ID. This will also affect actions in Item Availability, Day at a Glance and Customer Dashboard. Each time the user takes an action in these screens to modify information, they will be prompted for an ID.