
You will need to geo-code or set trip names fore each contract so we can group them by geographical areas.
1. Click on the trip field to edit and set the Trip Name.
a. Review the customers address and determine the geographical location.
2. Click in the Trip Field and enter an alpha/numeric description for the area this is going to.
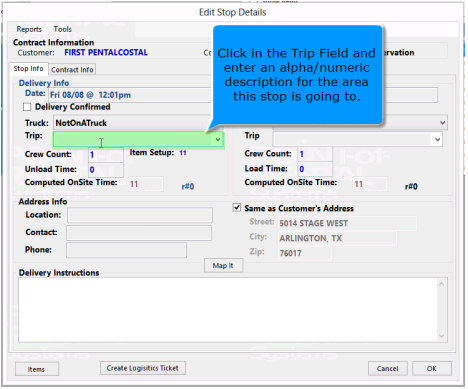
Ex. We use “ARL to denote the city of Arlington. Using a short code eliminates misspellings and saves time.
* Note – This Field is not designated for the driver’s name.
3. Determine the unload time or on-site time. Click the Items button in the bottom left button.
a. Will show a list of items on the contract to help you determine the un load time (delivery) or load time (pick up)

4. Enter the on-site time in man-minutes in the unload time. (Ex). If you would normally send two people and you would expect it to take 40 minutes, the man-minutes would be 80 minutes.
* Note – In your item records the average setup time can be set. The system will use the item setup time to offer the user a suggested Unload time for the contract.
5. Click on the trip Field to set the Trip name for each unassigned stop.
6. Review the customers address to determine the Trip name ( Ex. If customer city is Arlington, you could call the Trip ARL.

a. If the Trip name cannot be determined from the address, use the Map It button to see the stop location on a map.
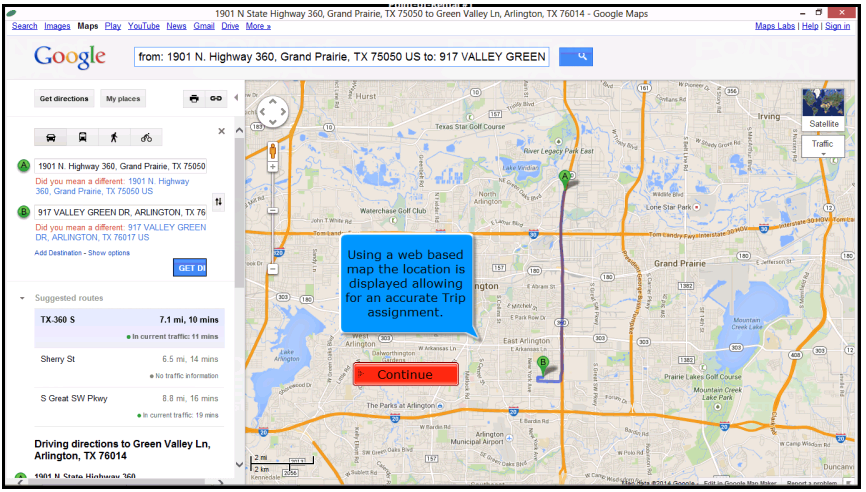
b. Using a web based map the location is displayed allowing for an accurate Trip assignment.
c. When finished click the red X in top right corner of the map.
Existing Trip
1, When you already have a trip created, you can select the name of the trip from the drop down menu.
2. From the routing screen, clicking in the contract (Un)Load field will allow you to edit the man-minutes. This will open the Edit stop detail screen were you can update the man-minutes.
3. Click the Item Button – This will allow you to see the items on the contract to help determine the number of people and amount of time it may take for the delivery or pick up.
Unassigned Trucks
Selecting an Unassigned truck displays a list of contracts that have not been assigned to a trip or a truck. In other words, contracts that have not been reviewed by a dispatcher.
Continue updating each trip and stop time. Click on the Trip field to continue.
You can go to trip and select a location previously set
Select the Items Button. – Once all the items have been reviewed, click close from the upper left corner of screen.
Click ok – Continue until all contracts have been reviewed.
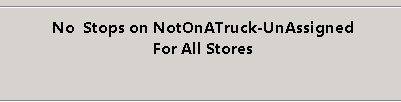
After all contracts have been reviewed, you will receive a message No Stops on Not On A Truck-UnAssigned for all stores.
On the left side window pane, under Not on A Truck, you will see locations you created earlier.(Ex ARL) Click on one of these locations. It will show you all the stops in the area under Arlington.
Select the show Item from the top of the screen. Check the box to expand each contract displaying the item detail.
Expanded view

8. Click on the Show Items Button – This allows you to see all the item details for all stops in the Arlington Area. Allowing you to make an initial decision on the proper vehicle or number of vehicles.
*Note: Un-checking the Show Item box will hide the detail.
9. Move a Trip to a different truck by simply dragging the Trip and dropping it on the appropriate truck.
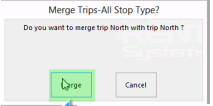
*Note – You can Merge Trips together by dragging and dropping them into each other.
*Note – You can also move stops from one trip to another, Simply hold the Ctrl key, select the stops you wanted to move, and drag them into the trip you want to move them to.