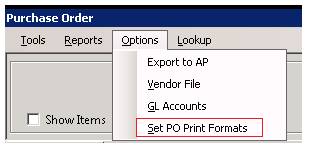
Set PO print Formats allows you to define up to ten different laser contract formats. Several of these have been predefined for you. You can modify the existing formats to create new formats using Crystal Reports. The Description will display on the screen when printing out a purchase order. You can make the description anything that makes sense to you. For example you could rename the NO Process to "Driver Pickup PO". The File Name is the actual Crystal Report file name for the desired format. The copies is the default number of copies to print for the format. The first format will always be the default format for printing.
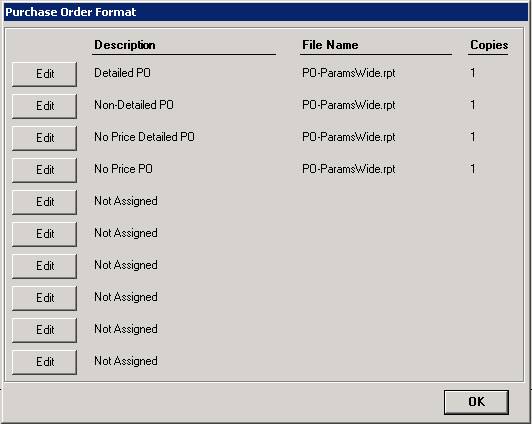
Edit Button - This will open the edit window of the format next ot it.
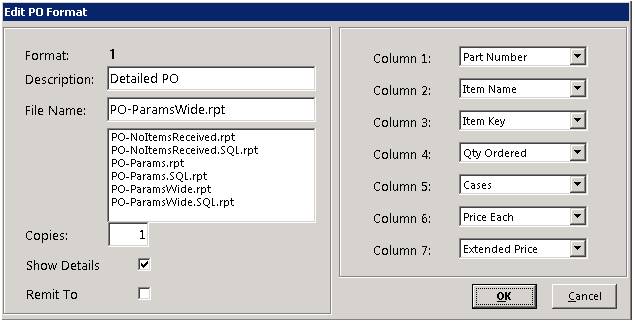
* Note: If you have five or fewer columns set up, we recommend using PO-Params. If you set up six or seven columns, you may prefer PO-ParamsWide.
Description - Allows you to enter the name of the purchase order format
File Name - Allows you to select a type of format for the purchase order
Copies - Sets the default number of copies that print. You can manually change it at the print screen.
Show Details - If you check the Print Details, the following fields will print directly below each line item, unless they are left blank:
a. Item Group Bin: Location, Serial Number (from the Item file record), Expense To, and General Ledger Account (from the Purchase Order comments)
b. Remit To: With the box checked, it will show Name, Address, City, State and Zip. Uncheck will show Company Name
Columns - Allows you to select multiple choices on what is to be displayed on the purchase order.
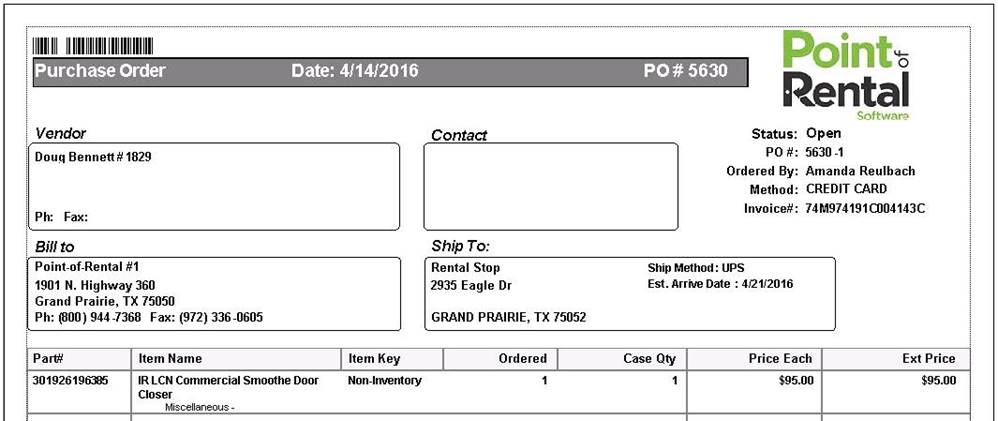
This example shows a five-column purchase order using the PO-Params format.

This example uses PO-ParamsWide format, with seven columns that all print on the same row: