Overview: You have the ability to add a non inventory item into your inventory, straight from the Purchase Order. The Purchase Order will update your qty count and purchase history in File Maintenance.
Note: You must have a Purchase Order already created with a non inventory item selected. This is only for non inventory items.
1. Program Menu>Purchase Orders
This will put you in the display screen under the open purchase orders. Choose the Purchase Order that is going to be received into your inventory.
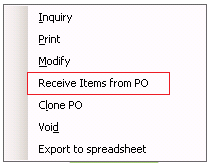
2. Right click on the purchae order and selcte Receive Items from PO. You will be entered into this purchase order.
3. Right click with you mouse on the item or items that are going to be received in. Select Add as New Item.
** Note: If you skip this step, the items will not be added to your inventory.

4. You will see the record file created with the key number, name, type, department and part no. You will have to select which category to put the item under. Select OK.

5. In the receive column, enter the quantity you are receiving into inventory. Click Apply, then OK.

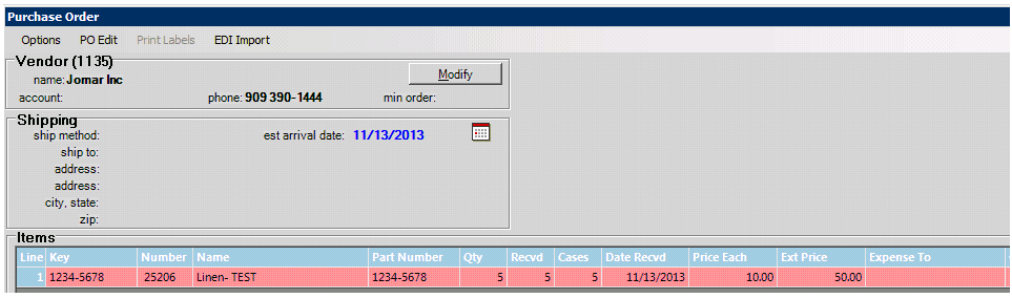
6. Once you click ok, the line on the item being received will turn pink. This lets you know the record has been received and updated. Click OK
Checking the updated Inventory.
1. From Program Menu, Select File Maintenance
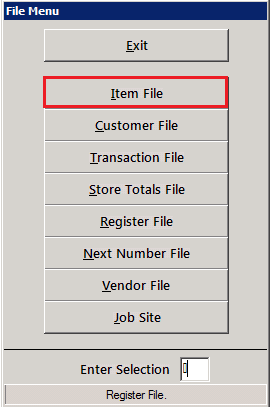
2. Select Item File
3. Enter the item name in the search field, or you can either enter the key number, part number in the selected fields. You should see your received item here
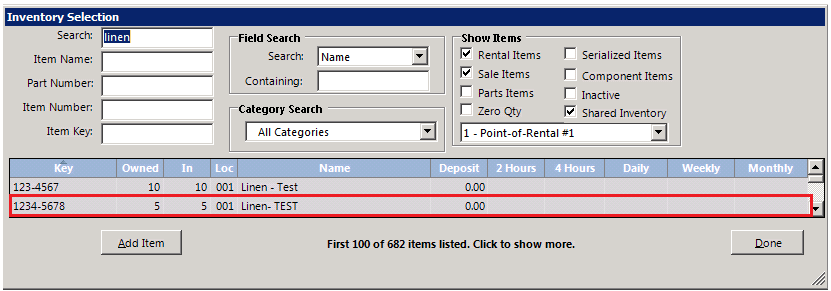
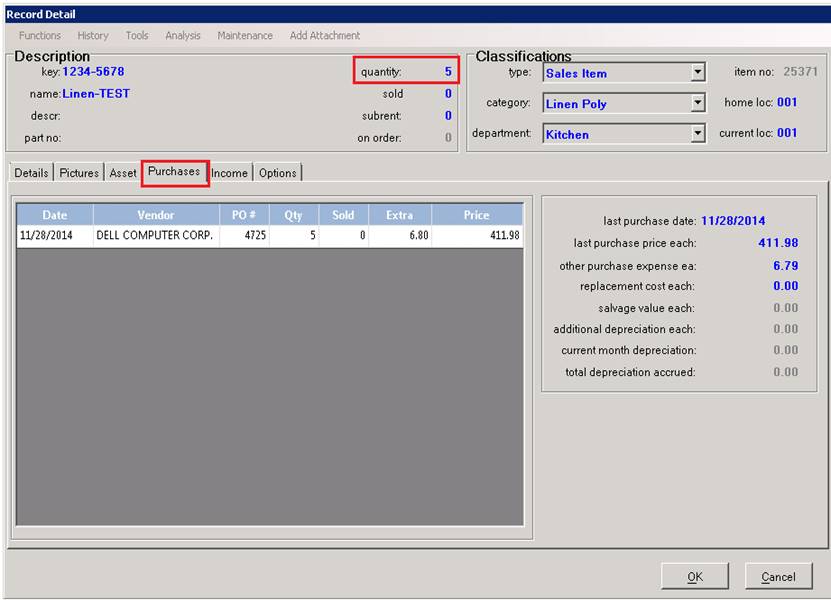
4. Click on the item in the Inventory Selection Screen. This will open the item record. You will see that the quantity has been updated. Choose the Purchase tab, and you will see that the Purchase History is now updated.