Overview: Logistics Tickets are used to create a scheduled stop that is not represented by a transaction. These types of stops could be a lunch break, stopping at another store or a vendor, or keeping track of a multi-truck stop. They will be assigned there own contract number.
Adding a Stop
1. In Dispatch Center, right click on a contract and select “Create Logistics Ticket”. You will now be able to create a logistic ticket with a delivery status.
2. Select the applicable option. By default there are stops for each store, a generic scheduled stop and a stop for lunch.
3. Adding a new Logistics Ticket Type
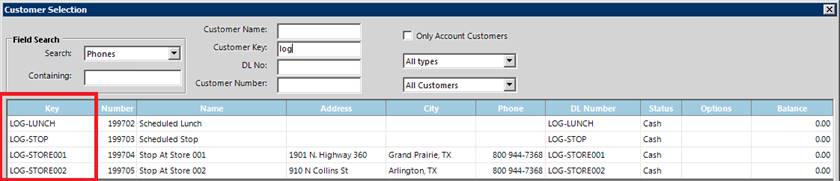
a. Additional logistics stops can be created by adding customers with “LOG-“ in the customer key.
b. If the stop has a fixed address (such as a vendor) enter the address. Otherwise leave the address blank.
4. This will add the logistics ticket to the route. The address can be changed if necessary (for things such as an extra pickup). Set the load time to give accurate information arrival time for the subsequent stops.
5. Draw the route as usual to set the stop sequence.