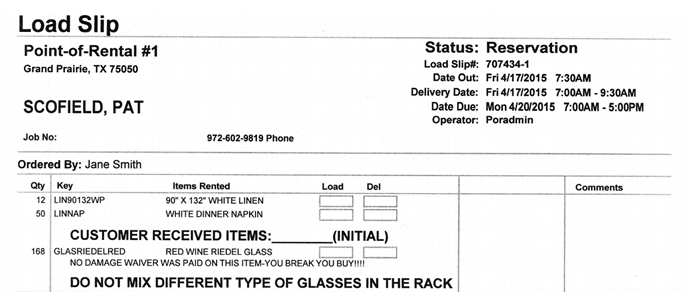
Overview: Changing the look and feel of your Load Slips to accommodate business or customer requirements.
•Go to the Program Menu
•Choose #9 Configuration>System Configurations>Laser Contract Formats>Edit Button Load Slip
•Click edit to configure your Load Slip Format
•Header Tab: You may choose from different headers. We recommend Load Slip. For More Information see Appendix A.
•Item Details Tab: Choose the details you want to display.
•Detail Columns Tab: Choose what columns you want to display. For More Information see Appendix A.
•Sections Tab: Display different sections and adjust shading.
•Footer Tab: You can choose your different footers. We recommend none.
Load Slip Message Configuration
To customize the Load Slip Message you would go into the Configuration -> System Configurations -> Print Out Fields. Then you would scroll down till you see the box Load Slip Message under the “Description” Column.
Note: The best practice is to open notepad and type your customized message in there then copy and paste it into the field.
Note: Some of the contract functionally may not be applicable for load slips.
At the bottom of the page is a Load Slip Message that can be configured to your needs. Below is an example.
If the customer has a deposit it will show
Note – If the customer has a deposit it will show
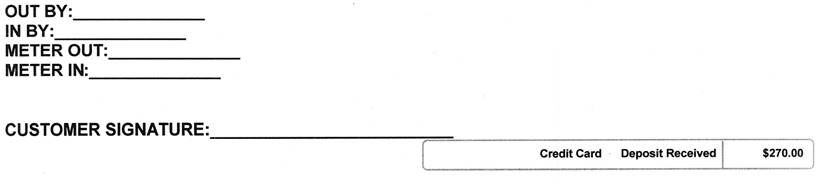
If the customer has not paid a deposit it will not show.

Load Slip Definitions- Within the notes section of an item record, you now have the ability to add notes to your Load Slips for that item. To do so you would go into File Maintenance->Item File-> Notes Tab. In the notes tab you will type < lsYour message.>. The letter L and S is the first letters in lowercase. Then your message.
NOTE: “ls” stands for Load Slip.

•Note: Make sure in Laser Contracts Formats, your heasder is set to Load Slip.
Examples Below:


Appendix A
Field Definitions
Header
Load Slip - Prints store name, address, and customer name and contract info.
(Refer to Customizing Contract and Work Order Formats for the other headers)